
Deploy
Databases
Connect in one click to the databases in your containers, on a server or on this computer, or to any database by URL. Browse tables, edit rows, run queries, design tables, manage users and settings, back up and restore, and ask the AI for queries.
Read about this part of Runova on the Ship page.
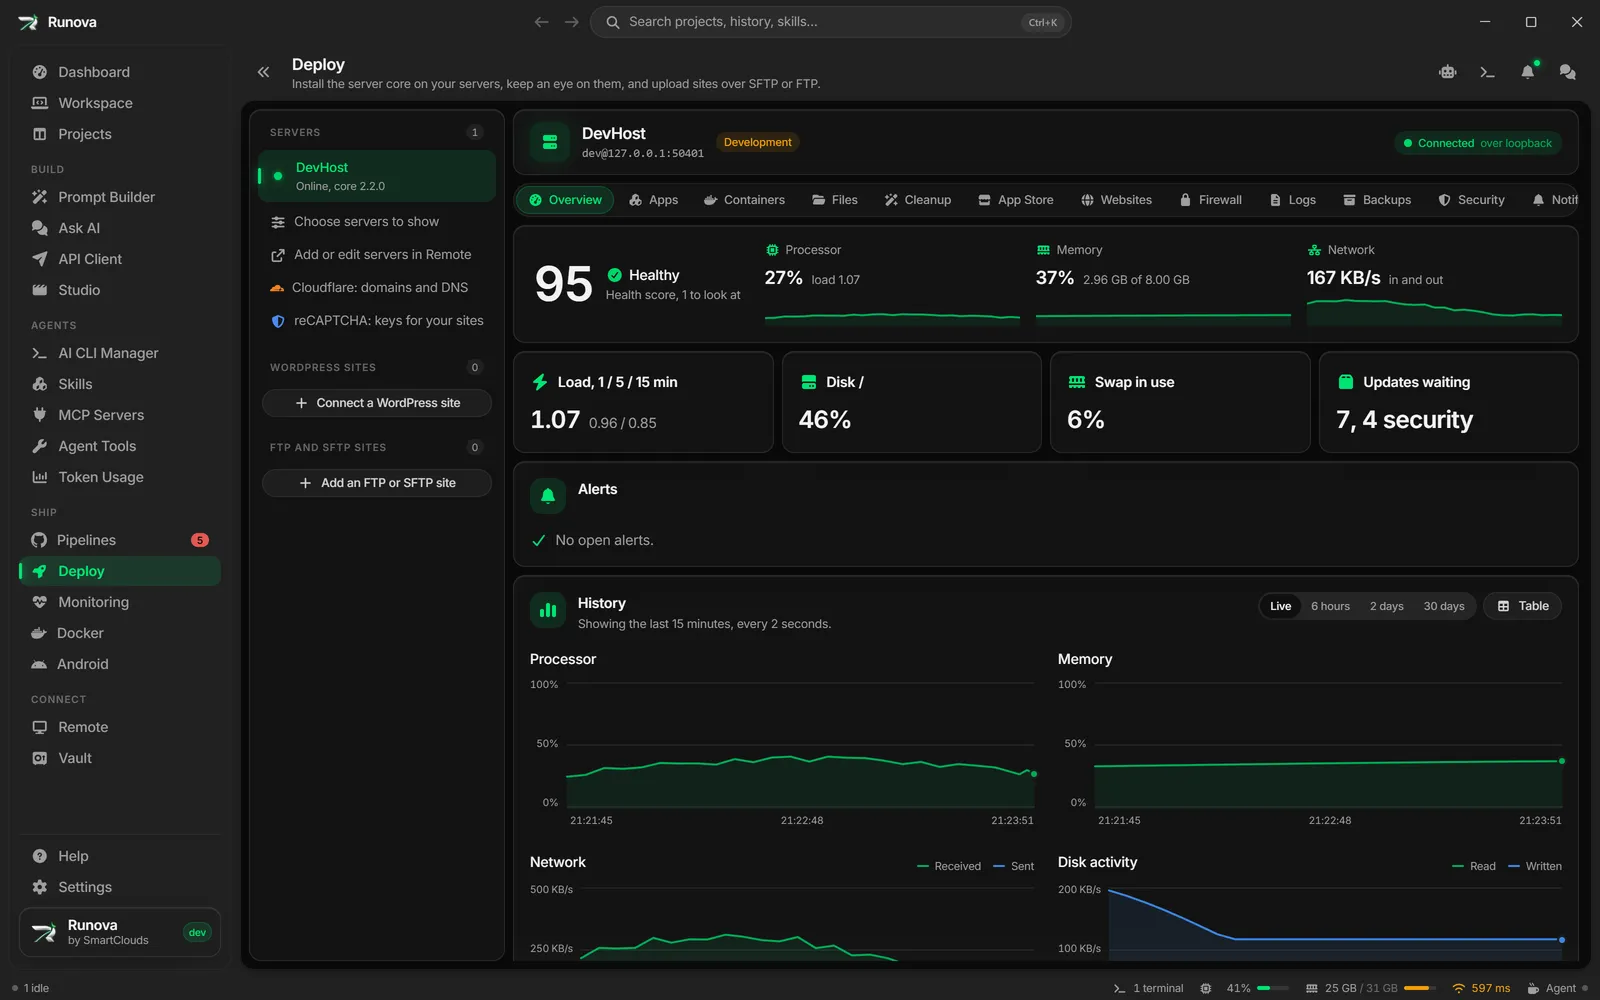
The Database section lets you work with your databases without another tool. Runova finds the database containers on a server (and in Docker on this computer), reads how to sign in from each container, and connects in one click. Once connected you can browse, read and edit rows, run queries, design tables, manage users and settings, back up and restore, and ask the AI to write queries for you.
It works with PostgreSQL, MySQL, MariaDB, MongoDB, Redis, SQLite, Cassandra (and Scylla) and SQL Server.
Where to find it
- A server’s databases: open Deploy, pick the server, and click Database in its section strip.
- This computer’s databases: click Databases on this computer under the server rail. It lists the database containers in Docker here and the connections you added by hand. The address is
/deploy?databases=1. - From a container: on a server’s Containers section, open a database container’s menu and click Open database. On the Docker page, click the database button on its row. Either way Runova opens the Database section and connects to it.
Connect in one click
Each database container shows as a card with its engine, its image, its project and whether it is running. Click Connect:
- Runova reads the engine from the image and the sign-in from the container’s environment (for example
POSTGRES_PASSWORDorMYSQL_ROOT_PASSWORD). - For a container on a server, the connection travels inside the server’s SSH connection, so the database port never has to be open to the internet. For a container here, Runova uses its published port, or starts a small helper container when nothing is published.
- The connection is saved, so the next time it is one click again.
A server asks you to confirm your password before it shows a container’s environment, the same as on the Containers section. If you told Runova to remember that password, it is used without asking. Only Admins of a server can do this.
If the container does not say what its password is, Runova asks for that password and nothing else. Passwords are sealed on this computer the same way your server passwords are, and never shown again.
Add a connection by hand
For a database Runova cannot find (a cloud database, say), click Add a connection and paste its connection URL, like postgres://user:password@host:5432/shop. The engine, host, port, user, password and database all come from the URL. A sqlite:// URL opens a SQLite file on this computer.
On a server’s Database section, Reach it through the server is on by default. Use it for a database only the server can reach, like one installed on the server itself at 127.0.0.1.
Turn on Read-only for a database you only want to look at. Anything that changes data then asks again before it runs, and the AI can only read.
Browse and edit rows
The left side lists databases, schemas and tables (collections for MongoDB, keys for Redis). A level loads when you open it. Click a table to see its rows. Hover a table for buttons that open its structure or a ready query.
In the grid:
- Click a column heading to sort by it.
- Type a condition in the filter box, like
total > 10 AND status = 'paid', and press Enter. For MongoDB, type a filter document like{ status: "paid" }. - Step through pages with the arrows, and save the page as CSV with the download button.
- Double-click a cell to change it. NULL sets it to NULL in one click.
- Hover a row number to mark the row for deletion, and use Add row to add one.
Nothing is written while you edit. A bar counts your changes; click Review and apply to see the exact statements, then Apply changes. They run in one transaction, so if one fails, none of them is kept. Tables without a primary key, and read-only connections, cannot be edited in the grid.
Run queries
Click New query for an editor that knows your database’s language. Press Run or Ctrl+Enter. Each statement gets its own result, the last one shown first, with how long it took. Stop cancels a long query. Results are capped so a huge table cannot fill the app’s memory; the footer says when there were more rows.
A query that drops, truncates or changes every row waits for Run anyway before it runs. Every query Runova reads as a read runs inside a read-only transaction where the engine has one, so a write hidden in it is refused.
For MongoDB, type commands the way mongosh takes them, like db.orders.find({ total: { $gt: 10 } }).sort({ total: -1 }). They are read, not run as JavaScript, so functions and variables are not allowed. For Redis, type commands like GET key or HGETALL user:1, one per line.
Design tables
Click New table (or the plus button on a database or schema) to make a table from rows of columns: name, type, whether it can be empty, the primary key, counting up by itself, and a default. The statement that runs is shown underneath as you type. For MongoDB it makes a collection with a schema validator.
On a table’s structure tab, Edit columns renames, retypes, adds or removes columns the same way. SQLite and Cassandra cannot change a column’s type in place, so the designer says so.
Users and access
The users button opens Users: who can sign in, and what each can reach. Access is a level per database:
| Level | What it allows |
|---|---|
| None | Cannot see the database |
| Read | Can read every table and change nothing |
| Write | Can read, add, change and delete rows |
| Admin | Can do anything, including changing tables |
New user fills in a strong password for you. Access changes a user’s level in one database, the key button sets a new password, and the trash button removes the user. Every change shows its statements first, with the password starred out.
Server settings
The settings button opens Settings: the server’s settings with a search box. Settings that only take effect after a restart are marked. Click the pencil to change one; the statement that keeps it across restarts is shown before it runs. Cassandra and SQLite settings are shown but cannot be changed here.
Back up and restore
The backup button opens Backups. Back up now runs the database’s own tool where the database lives: pg_dump, mariadb-dump or mysqldump, mongodump, redis-cli, sqlcmd or cqlsh, inside the container (over SSH for a server). The backup file is saved on this computer. The password goes to the tool on its input, never on a command line. A backup that fails leaves no file behind.
Restore replaces what is in the database with a backup, so it asks you to type the database’s name first. Restore from a file picks any backup file on this computer.
Some engines have limits:
- Cassandra backups keep the schema only.
- Redis loads a snapshot only when it starts. To restore one, copy the file into its data folder as
dump.rdband restart the container. - A SQLite file is copied as a consistent snapshot. To restore it, disconnect and copy the backup over the database file.
- Backups need the database in a container or on a server. For a connection added by URL, export what you need with a query.
Ask AI
Click Ask AI to open a panel beside the tables. Ask in plain words, like “orders over 100 from last week, newest first”, and the AI writes the query with a short explanation. It uses the API provider picked under Prompt Builder writes with in Settings, AI, Providers (see AI providers).
- The AI sees the tables and columns of the database you are in. It sees rows only when you turn on Let the AI see a few sample rows.
- Run runs a query that only reads right away, and shows the rows in the panel. A query that changes the database waits until you click Review done, run it.
- Open in editor puts the query in a new query tab.
- When a query fails, Fix with AI sends the query and its error to the panel.
Troubleshooting
- “Docker on this computer is not running”: start Docker Desktop, then click Look again.
- A server shows no containers: the server needs Runova’s server core for its containers to be listed. You can still add a connection by hand and reach it through the server.
- A password is turned down: Runova asks for it again; the new one replaces the saved one.
- A local container has no published port: Runova starts a short-lived
alpine/socathelper on its network. It needs that image, so the first connect may take a moment while Docker pulls it.