
Deploy
Deploy firewall and security
Change a server's firewall rules with a safety net that undoes mistakes, and use the Security center to harden SSH, make backups, restore them and export the audit trail.
Read about this part of Runova on the Ship page.
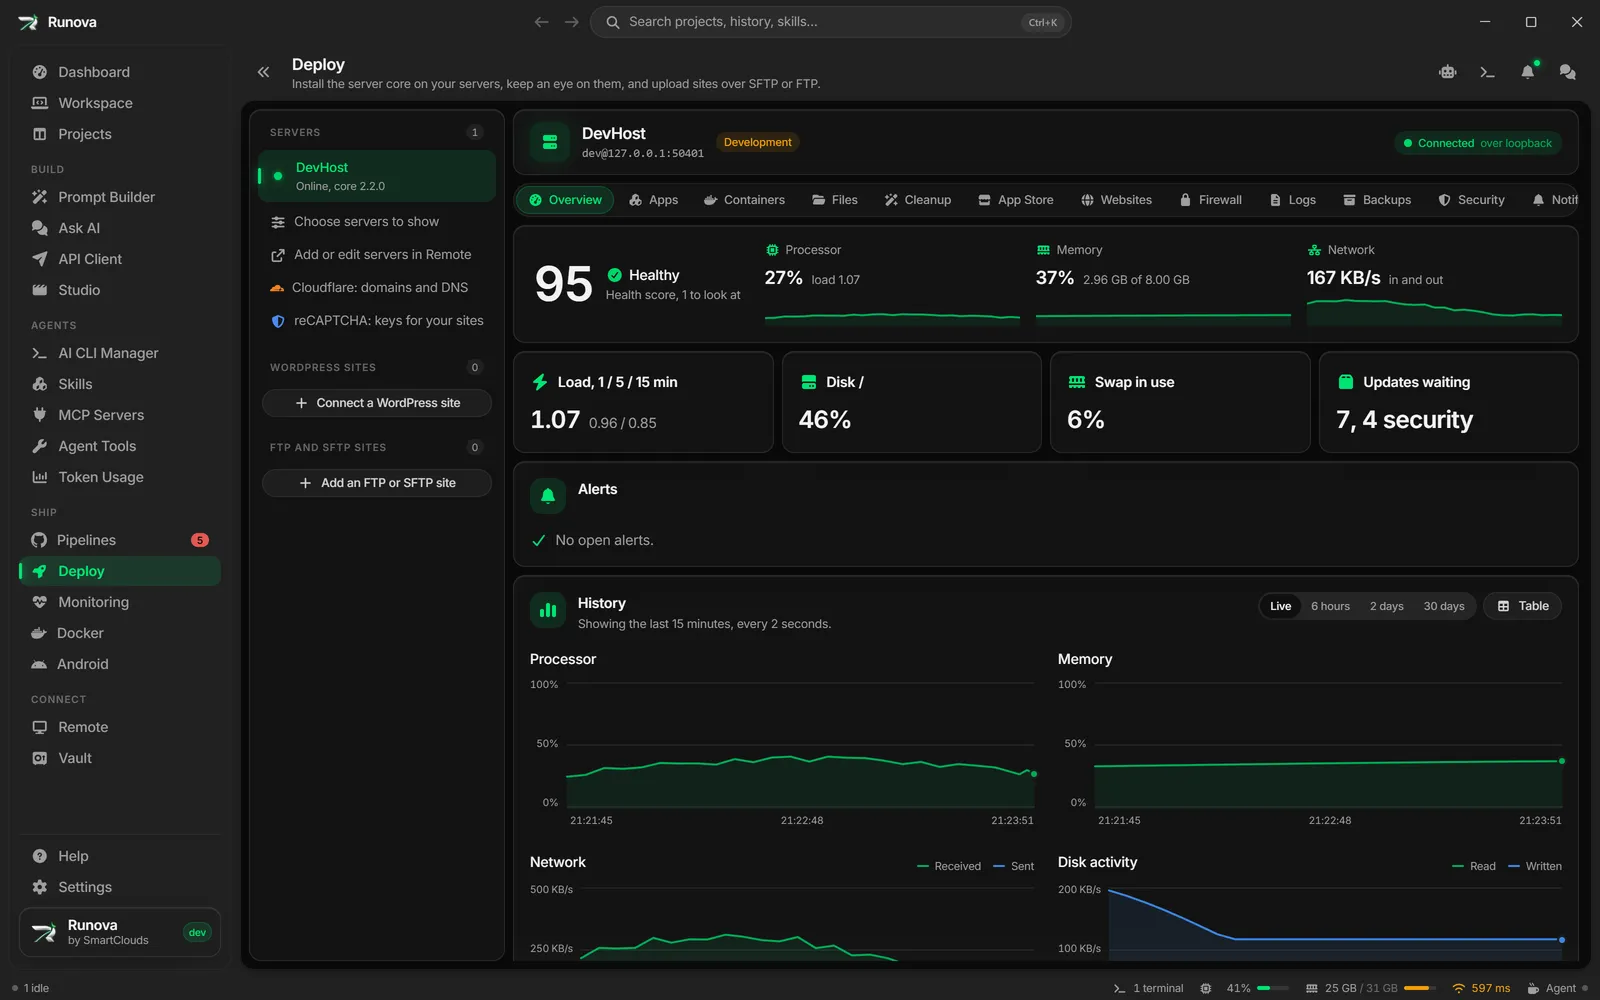
The Firewall and Security sections of a server’s page in Deploy let you control who can reach the server and keep an eye on how safe it is. Firewall changes are staged, reviewed and applied with a countdown, so a bad rule cannot lock you out for long. The Security section holds a checklist with one-click fixes, users, devices, the audit trail, backups and the connection settings.
Both sections talk to the Runova server core on the server, so the server needs its core installed and you need to be signed in to it. See Deploy servers and setup if you have not done that yet.
Where to find it
Click Deploy in the sidebar under Ship, pick a server in the rail on the left, then click Firewall or Security in the section strip above the content. You can also open them from the command palette by typing Deploy. If you are not signed in to the server’s core, both sections ask you to sign in first.
Roles and what they allow
Everyone who is signed in can read the Firewall section. Changes need more.
| Action | Role needed |
|---|---|
| See the firewall, rules, history and exposure | Any role (Viewer and up) |
| Make a container private from the Exposure card | Operator or higher |
| Add, edit or remove rules, turn the firewall on or off, keep or revert a change | Admin or higher |
| Security checklist and audit trail | Admin or Owner |
| Change how sshd lets people in (SSH fixes), Users tab, Backups tab | Owner |
The core checks the role again on every call, so the buttons you cannot use are hidden or disabled with a hint.
The Firewall section
The status card
The card at the top says Firewall on or Firewall off with a lock icon and a short sentence. If the server has neither ufw nor firewalld, it says No firewall found. Next to it you see these facts:
- Backend: ufw or firewalld (with the zone name for firewalld).
- Incoming: the default for incoming traffic (Allow, Deny or Reject). Admins can change it from a dropdown (Deny by default is the safe choice). Changing it stages a change, it does not apply it yet.
- Outgoing: the default for outgoing traffic.
- IPv6: whether IPv6 is filtered too.
- SSH ports: the ports sshd really listens on. The guard that protects you from lockouts uses these.
Admins also get a Turn on or Turn off button. Turning the firewall off asks you to type the server name to confirm, then stages the change for review. Warnings from the server (for example a rule the app cannot read) show under the card.
Staged changes
Nothing you do in the Firewall section reaches the server straight away. Every add, edit, remove, default change and on/off switch is staged first. A blue bar called N changes staged, not applied yet lists each change in one line. You can:
- Click the small button on a line to take that change out.
- Click Discard to drop all of them.
- Click Review and apply to open the review dialog.
The rules table
The Rules card lists the rules in order, because the first rule that matches decides. Each row shows the action (Allow, Deny, Reject or Limit), the ports, the protocol, the source and a comment. Hover the source to see whether the rule covers IPv4, IPv6 or both. Outgoing rules are marked “(outgoing)”.
Admins (while no change is waiting for confirmation) can:
- Click Add rule to stage a new rule.
- Click the pencil on a row to edit it. An edit is staged as removing the old rule and adding the new one.
- Click the trash icon to stage the removal. The row stays in the list, struck through and marked “Will be removed”, with a Keep button to take the removal back.
Rules the app cannot manage (added by hand, or firewalld services) show Read only with a hint explaining why.
Add or edit a rule
The Add a rule (or Edit rule) dialog has these fields:
- Action: Allow (lets the traffic in), Deny (drops it without an answer), Reject (turns it away with an answer) or Limit (lets it in, but blocks an address that connects 6 times in 30 seconds).
- Protocol: TCP, UDP or Any.
- Ports: a single port such as
8080, or a range such as6000-6007. - Source: leave empty for anywhere, or type an address such as
203.0.113.7or a network such as10.0.0.0/8. It is checked as you type. - Comment: what the rule is for.
Click Stage the rule (or Stage the edit). The dialog shows an error under the form if something is invalid.
Presets
The Presets card offers ready-made rules for SSH (on the ports sshd really uses), HTTP, HTTPS and common databases. Click Stage next to one to add its rules. A preset that is already allowed from anywhere shows Open instead. Database presets open the rule dialog first, with a hint that they are best kept to your own network, so you do not open a database to the whole internet.
Review and apply
Click Review and apply to open Review the firewall change. It shows:
- A summary of the change.
- The exact commands the server will run.
- What the firewall will look like afterwards (on or off, default for incoming, number of rules) and any notes.
- A lock icon and a note if the change asks for your password again.
The dialog tells you how many seconds you will have to keep the change (60 by default). Click Apply to go ahead, or Cancel.
The SSH guard
If the change could cut off this computer’s SSH access (for example, removing the SSH rule or turning the default to deny without allowing SSH), a red box says This could lock this computer out of SSH and lists the reasons. The button becomes Apply anyway and stays disabled until you type the phrase shown in the box. Even then, the countdown below still protects you.
Keep or revert (the countdown)
After you apply, the change is live but on probation. A banner with a clock counts down:
- Keep changes opens a brand-new SSH connection to the server as a test and, if it works, makes the change permanent. A new login still getting in is the proof you are not locked out.
- Revert puts the old rules back right away.
- If the clock reaches zero, or the server cannot be reached, the server puts the old rules back by itself.
If keeping fails, the countdown keeps running and the server’s own timer still reverts the change. People who are not Admins see the countdown and a note saying who it is waiting on. When a change ends because nobody kept it, a toast says so.
Change history
The Change history card lists every change set, newest first: what it did, who made it, from which address, and how it ended (Kept, Reverted, Rolled back: nobody kept it in time, Rolled back when the core restarted, Failed and so on). Click a row to see the date and the exact commands it ran. A change applied by overriding the guard shows an SSH check overridden tag.
Exposure
The Exposure card answers “what can be reached on this server?”. It has two lists:
- Listening ports: every listening socket with its address, port, protocol, the program behind it, who can reach it (Public, Private network or This machine only) and what the firewall does with it (Open, Some sources, Blocked, Firewall off and so on).
- Container ports: every port Docker publishes. Docker publishes ports around the host firewall, so these are marked Bypasses the firewall when they listen on all addresses. The card explains this and suggests making them private and serving them through Websites.
Make private
Next to a publicly reachable container port there is a Make private button (Operator or higher).
- For a container that belongs to a Runova app, it asks for confirmation, then redeploys the app as a new revision with the service bound to
127.0.0.1. You can follow the deploy in Apps, and when it is live the card links you to Websites to put it on a domain. - For a container started some other way (plain
docker run, or a compose project that was not deployed from Runova), a dialog shows the exact change to make where it was defined, with a Copy the change button.
Cloudflare-only origin
If a server’s sites sit behind Cloudflare, the Firewall section also has a Cloudflare-only origin card that locks ports 80 and 443 to Cloudflare’s address ranges. It is described in Cloudflare. Its changes are normal firewall change sets, so the countdown banner covers them too.
Open the firewall fix from the checklist
The Security checklist item Firewall on has a Turn on the firewall button. It jumps to the Firewall section, stages SSH’s own rules if they are missing, then stages turning the firewall on and opens the usual review. This avoids locking yourself out while enabling it.
The Security section
The Security section is split into tabs. Which tabs you see depends on your role.
| Tab | Who sees it |
|---|---|
| Checklist | Admin, Owner |
| Users | Owner |
| Devices and sessions | Everyone |
| Audit trail | Admin, Owner |
| Backups | Owner |
| Connection | Everyone |
If you are not signed in to the core, you see only a sign-in card, plus (for servers you reach over SSH) a Restore a backup over SSH button. That is the way back when nobody can sign in to a core any more.
The security checklist
The Security checklist card shows a score ring and a list of items. Each arc of the ring is one item, sized by how much it matters. The headline says how many things are left to fix, or Nothing left to fix. Check again reruns the checks. The status of each item is written as a word (Done, Worth fixing, Needs fixing, Not checked) as well as an icon.
The items are:
| Item | What it checks | Fix button |
|---|---|---|
| Firewall on | ufw or firewalld is active | Turn on the firewall |
| SSH password login off | sshd only accepts keys | Turn off passwords |
| Root signs in with a key only | PermitRootLogin does not allow passwords | Keys only for root |
| Automatic security updates | unattended-upgrades or dnf-automatic is on | Turn on |
| No reboot waiting | no installed update needs a reboot | Open Overview |
| No unexpected public ports | only SSH and web ports are reachable from anywhere | Review in Firewall |
| Certificates healthy | no certificate expired or close to ending | Renew now |
| Server core up to date | the core matches the release this app installs | Update the core |
| Two-factor for every Owner | every Owner has two-factor on | Turn on two-factor |
Every fix shows what it will change before it runs:
- Automatic security updates asks to confirm, installs the tool if it is missing and has it install security updates every day. It runs as a job you can follow in Overview.
- Renew now orders each certificate again from Let’s Encrypt. The sites keep serving the current certificate until the new one is in. Follow the jobs in Websites.
- Open Overview takes you to the Overview section, where you can reboot.
- Update the core opens the install panel to update the core (not available for the development host).
- Turn on two-factor opens the two-factor dialog, see Deploy servers and setup.
- Fixes need a role: SSH fixes need Owner, the others need Admin or Owner.
SSH hardening fixes
The two SSH fixes (Turn off passwords and Keys only for root) cannot lock you out, because of how they work:
- The Review the SSH change dialog shows the exact file the core writes, the commands it runs in order, and whether the core could prove that this computer signs in with a key. If key login is not proven, Apply stays off and the core refuses anyway.
- After Apply, sshd runs the new settings but the change is on probation, with its own countdown banner: Keep the SSH change?
- Keep the change signs in once more with the key over a new connection, under the new settings. Revert puts the old settings back. At zero the server puts the old settings back by itself.
Open SSH sessions stay open, only new logins get the new settings. Only an Owner can keep or revert it.
Users, devices and sessions
The Users, Devices and sessions and sign-in parts are explained in Deploy servers and setup.
Audit trail
The Audit trail tab lists every sign-in, change and refusal on the core, newest first, 50 at a time (Load older events shows more). Each row shows when, who (and from which computer), what, what it was done on and the result (Succeeded, Refused, Failed, Cancelled). Actions run over SSH by an administrator show as “Command over SSH”.
Filters above the table:
- Who: a user name.
- Action: every action, or a group such as Sign-ins and accounts, Users, Devices and enrollment, Sessions, Package updates, Service restarts, Reboots, Jobs, Alerts, Commands over SSH.
- Result: any, Succeeded, Refused, Failed or Cancelled.
- When: any time, last hour, last 24 hours, last 7 days or last 30 days.
Two buttons sit in the card’s header:
- Check the chain: every entry is chained to the one before it. The check tells you either that the trail is intact (all N events check out) or at which event it is broken. Someone with root on the server could still rewrite the whole file, the check shows any change short of that.
- Export: choose As CSV or As JSON, then pick where to save. The export respects your current filters. If more events match than one export holds, the file has the newest and a message tells you to narrow the filters.
Backups
The Backups tab (Owners only) makes and restores backups of the server core.
This is the quick backup of the core alone. For backups of the whole server (apps, volumes and firewall rules too), on a schedule and sent to other places, use the server’s Backups section. See Server backups.
A backup holds the core’s database (users, computers, sites, certificates, settings), the keys that open what it keeps encrypted, and the apps’ files. It is encrypted on the server with a passphrase you choose (AES-256-GCM, key stretched with PBKDF2), saved on your computer and deleted from the server.
Make a backup
- Click Back up now.
- Type a Passphrase of at least 12 characters, then type it again in Passphrase again. A hint under the fields tells you if it is too short or the two do not match.
- Click Choose where to save, pick a location, and the file is saved. A toast shows the path.
Warning: Without the passphrase the backup cannot be opened, by you or anyone. Runova does not keep it. Write it down somewhere safe.
The action may ask for your password again (a step-up).
Restore a backup
Restoring works over SSH as root, so it also works on a brand new server once the core is installed. It is disabled for the development host, which has no SSH.
- Click Restore a backup (on the Backups tab, or Restore a backup over SSH if you are not signed in).
- Click Pick the backup file and choose the file.
- Type the Backup passphrase.
- Under Owner in the backup, type the user name of an Owner in the backup, and their password in Their password. This computer enrolls again as that Owner.
- Optionally fill sudo password (optional). Leave it empty to use the saved login password.
- Click Restore and confirm by typing the server name.
The backup is checked with its passphrase before anything changes. Then the core’s state is swapped for the backup, the core restarts, and you are signed in again. Steps show as they go. A core that does not come back goes back to what it had. The result says which backup was restored and where the previous state is kept on the server (root only).
Warning: Restoring replaces everything the core knows: users, computers, apps, sites, certificates and keys. Every session ends. Apps are not started by the restore, so deploy them again and apply in Websites so nginx serves the restored sites.
Connection
The Connection tab holds the core domain and direct TLS settings that decide how this app reaches the core when SSH is not available. See Core domain and Direct TLS.
Tips
- Always keep Keep changes within reach after applying. If your connection drops, the old rules return by themselves, which is the whole point.
- Stage several firewall changes and review them together, they apply as one change set.
- Use Make private for containers that only a website in front of them needs to reach.
- Export the audit trail before you remove the core if you need a record.