
Deploy
reCAPTCHA keys
Sign in with Google once, pick or make a Google Cloud project, and create, edit and delete reCAPTCHA keys for your sites, with the site key, the secret and code to paste right there.
Read about this part of Runova on the Ship page.
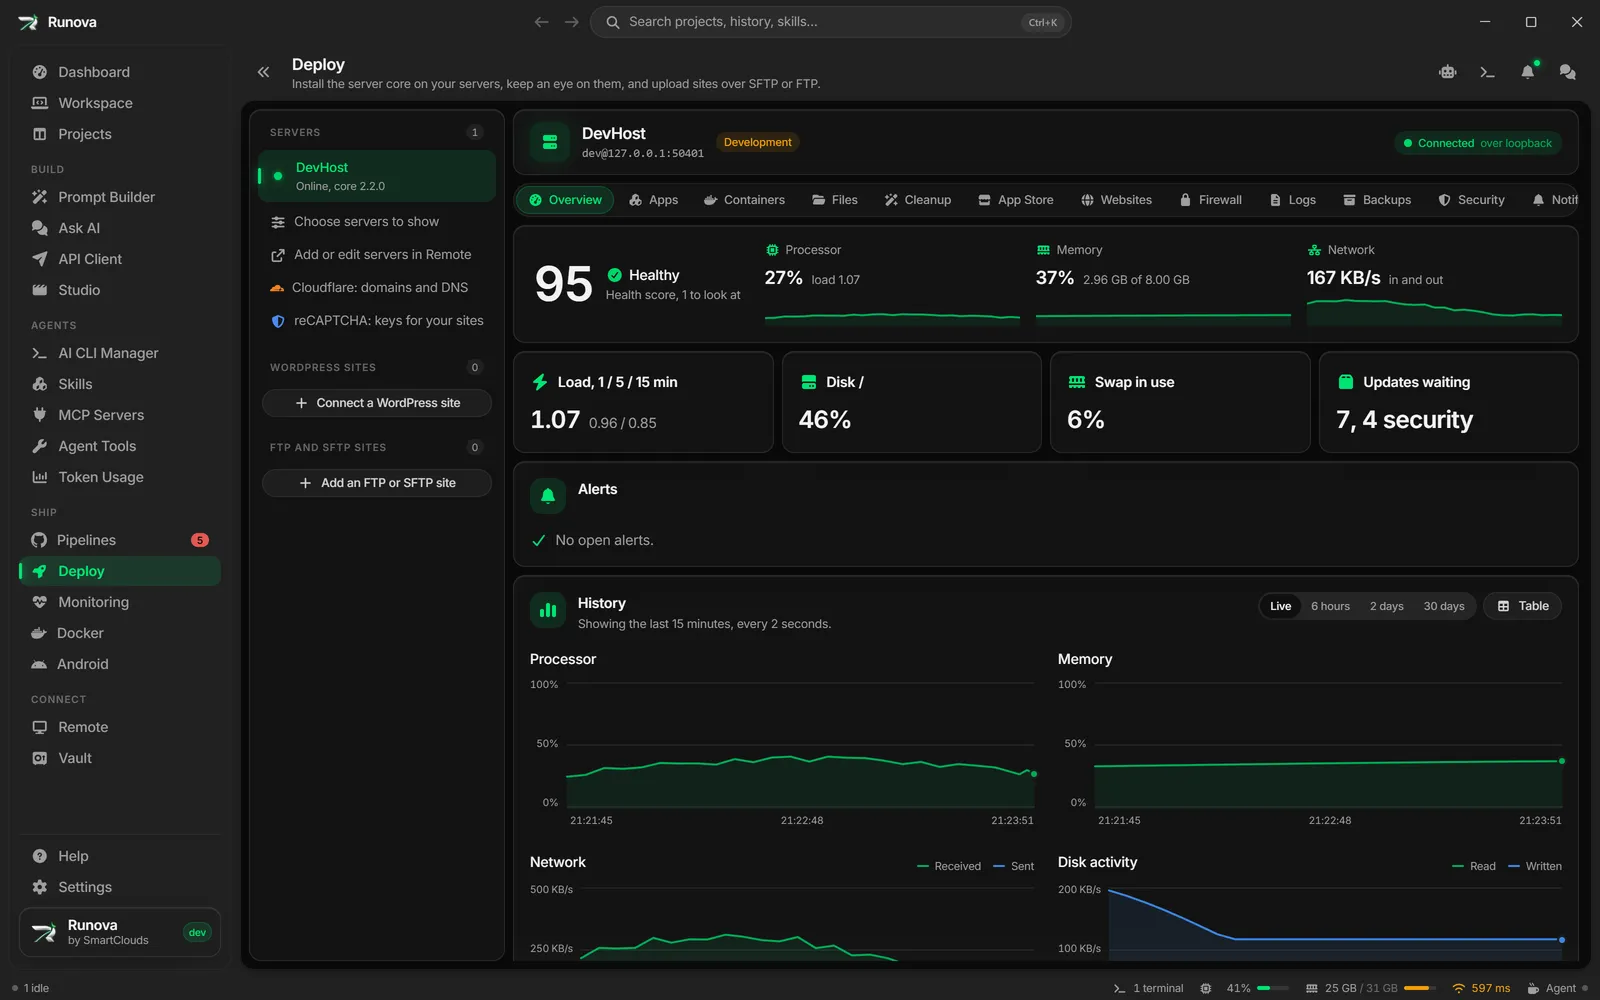
The reCAPTCHA page makes and keeps the reCAPTCHA keys for your sites, so you do not have to go through the Google Cloud console. You sign in with Google once, Runova picks or makes a Google Cloud project and turns reCAPTCHA on in it, and from then on a new key takes a few seconds. Each key comes with its site key, its secret and code you can paste into your site.
Where to find it
Open Deploy in the sidebar under Ship, then click reCAPTCHA: keys for your sites under the server rail. The page opens in Deploy’s main area, like the Cloudflare page. If you have no saved servers yet, the Deploy page offers Get reCAPTCHA keys instead. The address is /deploy?recaptcha=1.
You can also start from a website: in a server’s Websites section, each site has a shield button, Protect with reCAPTCHA. It opens this page with a new key already filled in with the site’s domains.
Sign in with Google
Click Sign in with Google. Your browser opens Google’s sign-in page. Pick your account and allow access, then come back to Runova. Runova waits up to 5 minutes and you can cancel at any time.
Runova asks Google for access to your Google Cloud projects, because reCAPTCHA’s API offers nothing narrower. The sign-in stays on this computer, sealed the way your server passwords are, and is never shown again. If your saved servers are locked with a passkey, the Google sign-in is locked with them, and the page asks you to Unlock first.
Use your own OAuth client
If you would rather not use Runova’s sign-in, or your build of Runova does not have one, open Use my own OAuth client:
- Click Open Google Cloud to go to the Credentials page.
- Create an OAuth client ID of type Desktop app. In the same project, turn on the Cloud Resource Manager, Service Usage and reCAPTCHA Enterprise APIs.
- Paste its Client ID and Client secret, then click Sign in with Google.
Several Google accounts
Open the account menu at the top right of the page to switch between accounts, add another one, or sign out. Signing out forgets the sign-in on this computer and asks Google to drop it. Your keys stay in Google Cloud and keep working on your sites.
If Google stops accepting a sign-in (for example after you removed Runova’s access in your Google account, or changed your password), the page says so and offers Sign in again.
Choose a project
reCAPTCHA keys live in a Google Cloud project. The first time, the page shows Choose a Google Cloud project:
- Create a project for me makes a project named “Runova reCAPTCHA” in your account and sets it up. It is free and needs no billing account.
- Or pick one of your projects from the list. With many projects there is a search box.
Runova then gets the project ready while you watch: it checks it can reach the project and turns reCAPTCHA on in it when it is off. Setting up a project takes the Owner or Editor role on it. Runova remembers the project, so next time the page opens straight on its keys. To use another one, open the account menu and click Change project.
Make a key
Click New key (or Create your first key):
- Start from one of your sites. Runova suggests the websites, WordPress sites and Cloudflare domains it already knows. Click one to fill in the name and domains. You can also type them.
- Pick how it checks people:
- Invisible score (recommended) shows nothing. Google scores each visit from 0 to 1 and your server decides what to accept. This is reCAPTCHA v3.
- Checkbox shows the “I am not a robot” box, with a puzzle when Google is unsure.
- Invisible challenge shows no box, and a puzzle only when a visit looks suspicious.
- List the domains. Type or paste them. Runova keeps only the domain, so
https://www.shop.com/cartbecomeswww.shop.com. Subdomains are covered on their own, soshop.comalso works onwww.shop.com. Turn on Allow localhost for testing while you build the site, and off again before it goes live. - For checkbox and invisible keys, More options sets how hard the challenges are.
Click Create key. The key opens on Your key is ready, with:
- the site key, which goes in your page,
- the secret, which stays on your server,
- code to paste: HTML, React, a PHP check and a Node.js check. The server code reads the secret from the
RECAPTCHA_SECRETenvironment variable, so the secret never ends up in your code.
The secret works with Google’s classic siteverify check, so existing reCAPTCHA code keeps working.
Manage your keys
Each key in the list shows its type, its domains and its site key, with a button to copy it. The secret is only fetched from Google when you click Get secret, and stays hidden until you show it.
- Add to your site opens the site key, secret and code again.
- Edit changes the name, the domains and the challenge difficulty. A key’s type cannot change; make a new key for another type.
- Delete asks first. Sites that use the key stop passing checks right away.
Free checks
Above the keys, the page shows how many checks the project’s keys have had this month, out of the 10,000 free checks Google gives each month. The allowance is shared by every project in your Google organization. Past it, Google refuses more checks until the next month unless billing is turned on for the project. The bar turns yellow at 80% and red when the free checks are used up.