
Deploy
Cloudflare
Connect your Cloudflare account with an API token, add domains, manage DNS records, zone settings and security rules, get Turnstile captcha keys for your forms, point a domain at a server, and use Cloudflare with your servers for DNS-01 certificates, Origin CA certificates and the Cloudflare-only origin lock.
Read about this part of Runova on the Ship page.
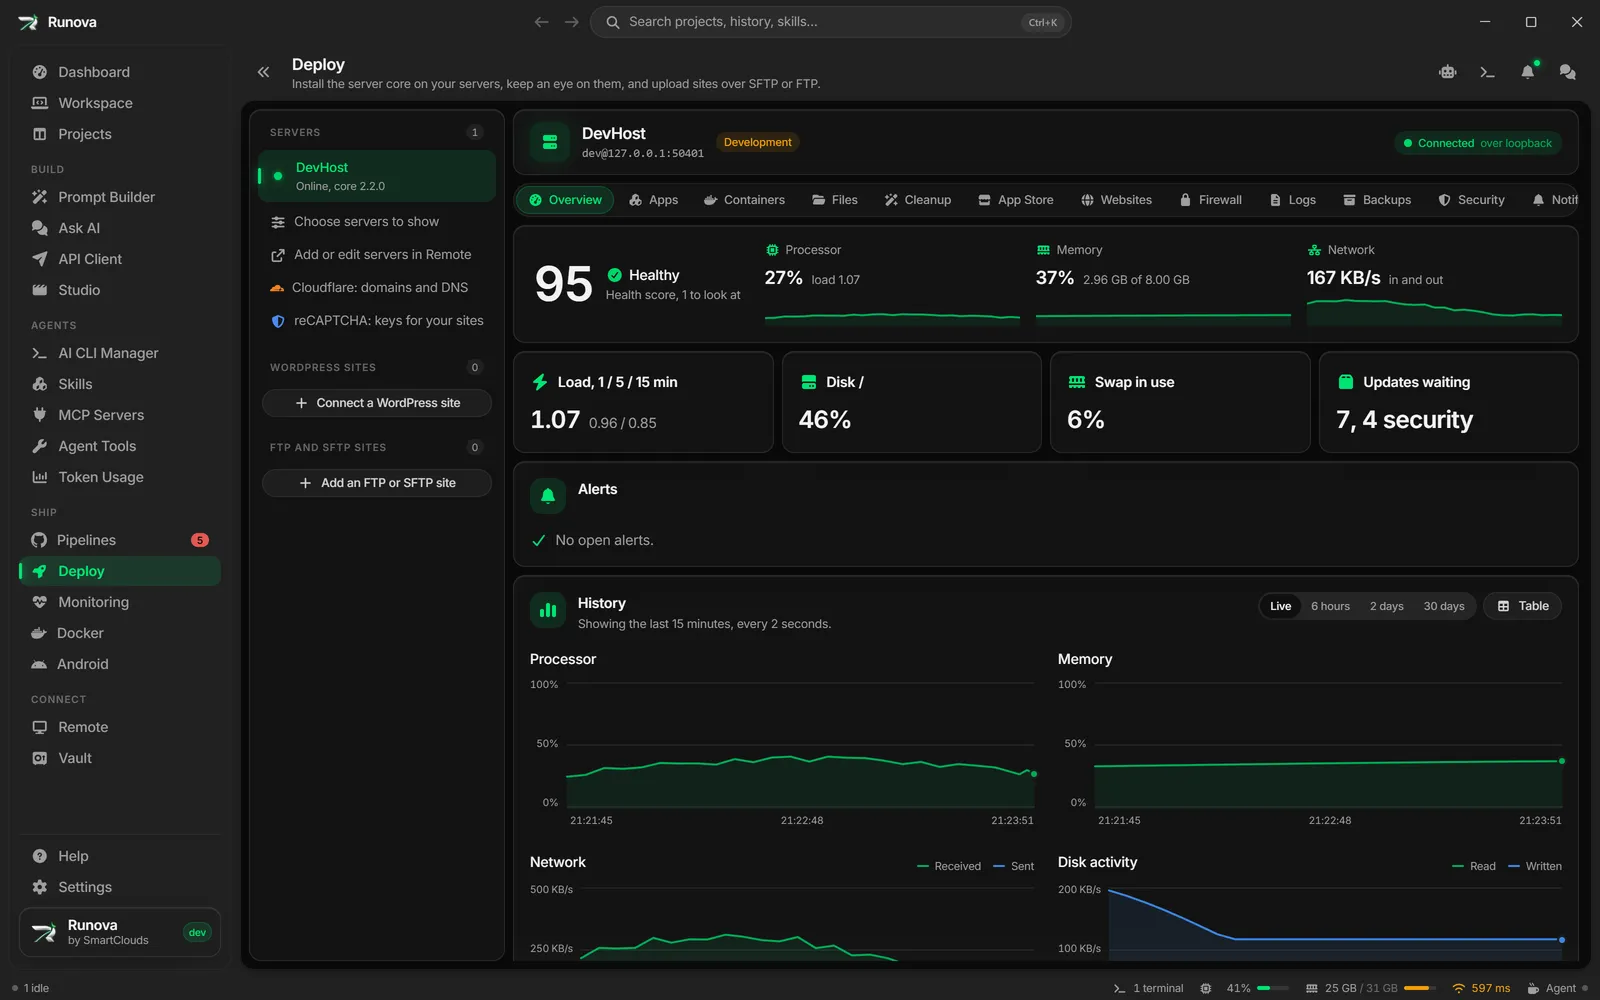
The Cloudflare page manages your domains on Cloudflare without leaving Runova. You connect each account once with an API token, then pick a domain (a zone) to edit its DNS records, its settings, its cache and its security rules, and to get Turnstile captcha keys for its forms. It also links Cloudflare to your servers in Deploy: you can point a domain at a server in one step, give a server a DNS token for wildcard certificates, install a Cloudflare Origin CA certificate, and lock a server so only Cloudflare can reach it.
Where to find it
Open Deploy in the sidebar under Ship, then click Cloudflare: domains and DNS under the server rail. The Cloudflare page opens in Deploy’s main area, the way a server or a site does, and the whole page scrolls so long DNS tables and rule lists are never cut off. If you have no saved servers yet, the Deploy page offers Manage Cloudflare instead. Click a server or a site in the rail to go back to it. The address is /deploy?cloudflare=1.
Cloudflare accounts are not tied to one server, so the page has its own row in the server rail rather than living under a server. The domain and tab you pick are kept, so coming back to Deploy lands you in the same place.
Connect Cloudflare with a token
The first time (or after you remove every account), the page shows Connect Cloudflare with two steps side by side, so the field for the token is in view while you follow the first step.
- Create a token on Cloudflare. Click Open Cloudflare’s token page. It opens with the permissions below already chosen and the name “Runova”. Under Zone Resources, include all zones or just the domains Runova should manage, then create the token and copy it.
- Paste the token here. Type or paste it into API token and click Save and check. Runova checks it with Cloudflare, seals it on this computer the way it seals your server passwords, and never shows it again.
Runova rejects things that are not an API token: your Global API Key (which can do anything on your account), an Origin CA Key, a token with spaces, or one that is too short or too long. Create a proper API token instead.
The permissions the token should have:
| Permission | What Runova uses it for |
|---|---|
| Zone > Zone > Read | See your domains |
| Zone > DNS > Edit | Add, change and remove DNS records |
| Zone > Zone Settings > Edit | Development mode, security level, SSL/TLS and caching settings |
| Zone > Cache Purge > Purge | Purge cached files |
| Zone > Zone WAF > Edit | WAF custom rules |
| Zone > Firewall Services > Edit | IP access rules |
Five more permissions are asked for only when a feature needs them, so the main token can stay without them: Zone > Zone > Edit (adding a domain to Cloudflare), Zone > SSL and Certificates > Edit (Origin CA certificates for your servers), User > API Tokens > Edit (making a separate DNS token for a server), Account > Turnstile > Edit (Turnstile widgets on the Turnstile tab) and Zone > Bot Management > Edit (the AI bots card and the Block AI bots switch). Cloudflare’s token page can’t fill in the Turnstile permission for you, so add it by hand under Account permissions.
The token card
Once a token is saved, the Cloudflare token card above the domain is one line: when the token was last checked, how many domains it can see, and a badge: Active, Missing permissions, Expired or Disabled. Click Details to open it. It then lists every permission as Granted, Missing or Checked when first used, and shows the buttons below. Some tokens are checked by reading only, which changes nothing, so edit access is confirmed the first time you make a change.
A card that needs attention opens by itself: a missing permission, an expired or disabled token, a token that sees no domains, or one that was never checked.
When something is missing, a yellow box lists the exact permissions to add. Click Edit the token on Cloudflare, add them, then click Check again. If the token sees no domains, include them under Zone Resources on Cloudflare.
Buttons inside Details:
- Check again re-reads the token and refreshes the lists.
- Replace token shows the setup steps beside the domain list (and Keep the current token backs out). A different token can see different zones.
- Remove token asks first. Runova forgets the token and stops managing your domains. The token keeps working on Cloudflare until you delete it there.
Note: If your saved servers are locked with a passkey, the Cloudflare tokens are locked with them. A banner offers Unlock. Unlock first, then manage your domains.
Several Cloudflare accounts
You can connect as many Cloudflare accounts as you like, for example your own and a client’s. Each account has its own API token, made on that account.
- Open the domain picker and click Add account at the bottom of it (or Add another account when there is no domain list yet). The setup steps open on the page, with the permissions folded away under Permissions the token needs. Paste the token and, if you like, give the account a name such as “Client Co”. Left empty, the name is “Account 2” and so on. Cancel goes back to your domains.
- With more than one account, the domain picker groups the domains under the account’s name. Click a name to open that account’s token card with its details showing. Opening a domain shows the card of the account that holds it.
- Replace token and Remove token on a card only touch that account. The other accounts keep working. If one account’s token stops working, only its group shows the error and Try again.
- The same token can’t be added twice.
- Servers use the right account on their own. An Origin CA certificate is signed by the account that holds the site’s domains (a certificate can’t mix domains from two accounts), and a DNS token for a server is made in the account that holds the zone.
If you used Runova before accounts existed, your saved token shows up as one account named “Cloudflare”.
Domains (zones)
At the top right of the page, the domain picker shows the domain you have open, with a dot for its state and how many domains there are. Click it to open the list of every zone your connected tokens can see with its state: Active, Waiting for name servers, Setting up, Moved away or Paused. Click one to manage it. If an account’s list failed to load, the picker says so. If the list is empty, the token cannot see any domains yet: add one with Add domain under the list, or include your domains under Zone Resources on the token.
With two domains or more, a Search domains box sits at the top of the list, ready to type into as soon as it opens. Type part of a name, or paste a whole address such as https://www.example.com/pricing (the scheme, www. and the path are ignored). The list keeps only the matching domains, marks the matching part of each name, and the count reads like 2 of 14. With several accounts, an account with no matches is left out while you search, but one whose list failed to load stays so you can see the problem.
Ctrl+F(Cmd+Fon a Mac) opens the picker on its search box from anywhere on the page.Enteropens the first match.- The down arrow moves from the box into the list, and the arrows move along it. Up from the first domain goes back to the box.
Escapeor the Clear filter button empties the box, andEscapein an empty box closes the list. The domain you have open stays open even when the search hides it.
At the top of a zone you see its name, its plan and a state badge. For a zone waiting for name servers, a notice lists the name servers your registrar must use, each with a copy button and Copy both for all of them. Until the registrar uses them, changes here do not reach visitors. Check name servers now asks Cloudflare to look again straight away instead of waiting for its own check. Cloudflare allows only a few checks an hour and says so if you ask too often.
Three quick switches sit on the right of the zone’s header, so they are one click away from every tab:
- Development mode shows Off, or On with the time left.
- I’m Under Attack turns Cloudflare’s strongest check on for every visitor. Turning it off puts the security level back where it was before (Medium if Runova does not know).
- Block AI bots shows Off, On, ad pages or On, everywhere. Turning it back on blocks AI bots where they were blocked before (everywhere if Runova does not know). It needs Bot Management on the token; without it, only this switch is left out.
A zone has six tabs: DNS, SSL/TLS, Caching, Security, Servers and Turnstile. An older link to the Settings tab opens SSL/TLS.
Add a domain
You can add a domain you own to Cloudflare without leaving Runova.
- Open the domain picker and click Add domain at the bottom of the list (it is also under the list when there are no domains yet). The Add a domain card opens on the page in place of the open domain.
- Type the domain, such as
example.com. A pasted web address works too:https://example.com/pricingbecomesexample.com. Runova says what is wrong before anything reaches Cloudflare, for example a name with no ending, an IP address or a wildcard. - If you type a
www.name, Runova offers the main domain instead (Use example.com), since Cloudflare adds the main domain andwwwcomes with it. If the domain is already in your list, it offers Open instead of adding it twice. - The card says which Cloudflare account the domain goes into. When your tokens reach more than one, pick it under Cloudflare account.
- Click Add domain (or press
Enter).Escapeor Cancel goes back without adding anything.
Cloudflare makes the zone and copies the DNS records it can find for the domain. Nothing changes for visitors yet. The card then shows Point example.com at Cloudflare with three steps: sign in where you bought the domain (your registrar), replace its name servers with the two Cloudflare gave you (each has a copy button, or click Copy both), and wait for Cloudflare to notice, which usually takes a few minutes and can take up to a day. Click Open example.com to manage the new domain right away. It shows as Waiting for name servers until the registrar change goes through.
Adding a domain needs Zone > Zone > Edit on the token. If it is missing, the card says so and offers Open Cloudflare’s token page. Edit the token there, add the permission, and try again. The token’s Zone Resources must also include all zones from the account, not only some domains, or Cloudflare refuses to add new ones. If Cloudflare says the domain is already on Cloudflare (in another account) or is not a registered domain, the card shows that in words.
DNS tab
The DNS records card lists every record in the zone with its Type, Name (relative to the zone, @ for the zone itself), Content, Proxy and TTL. Long content is shown in full in a tooltip.
- The Proxy switch turns Cloudflare’s proxy on or off for A, AAAA and CNAME records, and says Proxied or DNS only next to it. Proxied means visitors reach Cloudflare first. DNS only means visitors reach the server directly.
- The pencil edits a record and the trash deletes it (after a confirmation that says what stops answering). Record types Runova cannot edit here are listed with “Edit on Cloudflare”.
Add or edit a record
- Click Add record, or the pencil on a row.
- Choose the Type: A, AAAA, CNAME, TXT, MX, CAA or SRV (fixed when editing).
- Type the Name. It is saved relative to the zone, and the full name is shown under the field. Use
@for the zone itself. - Fill in the fields for the type: an IPv4 address, IPv6 address, target, content, mail server with Priority, CAA Flags, Tag (issue, issuewild, iodef) and Value, or SRV Priority, Weight, Port and Target.
- For A, AAAA and CNAME, choose whether to Proxy through Cloudflare. Proxied records always use the Auto TTL. Otherwise pick a TTL from Auto up to 1 day.
- Optionally add a Comment (up to 500 characters, only you see it).
- Click Save record. The change reaches Cloudflare as soon as you save.
Point a domain to a server
Point domain to a server creates or updates the address records so a name reaches one of your saved servers (servers marked Development are not offered), and nothing else.
- Click Point domain to a server on the DNS tab.
- Choose the Server and the Name (
@for the zone itself, or a name likeapp). - Turn Also point www on or off, and Proxy through Cloudflare on or off.
- Click Preview changes. The list shows every record that would be added, changed or removed, with the server’s addresses. Nothing happens that you have not seen. If the names already point at the server, it says there is nothing to change.
- Click Apply N changes. Everything runs as one batch on Cloudflare, and running it again finds nothing to change.
- A final screen offers Add a website on <server>. It closes this dialog and opens that server’s Websites section with a new site already filled in with those names. See Websites and certificates.
If you proxy the records and Cloudflare’s SSL/TLS mode is weak (Off or Flexible, or Full without strict), the preview adds a warning that you can fix on the SSL/TLS tab.
SSL/TLS tab
These settings apply to everything in the zone, and changes apply within seconds. A setting your plan cannot change is shown but locked.
- Encryption mode sets how Cloudflare connects to your server for proxied records. Each of the four cards (Off (no HTTPS), Flexible, Full and Full (strict)) draws the trip from the visitor through Cloudflare to your server, with a closed lock on each leg that is encrypted and an open one on each leg that is not. Click a card, or move between them with the arrow keys and press
Enter. Advice under the cards explains the risk of the current mode, and Use Full (strict) switches in one click. Full (strict) needs a trusted certificate on the server, such as one from Let’s Encrypt. A zone on Strict (SSL-only origin pull), which only Cloudflare can set, says so. - Always Use HTTPS sends visitors who ask for
http://to thehttps://address. - Automatic HTTPS Rewrites fixes mixed content by loading
http://links on your pages overhttps://. - Minimum TLS version is the oldest version a browser may connect with (TLS 1.0 to 1.3). At 1.0 or 1.1 a note suggests 1.2, with Use TLS 1.2 to switch.
- TLS 1.3 turns the newest version on or off. If Cloudflare has 0-RTT on, a 0-RTT badge shows next to it.
Caching tab
The Caching card:
- Development mode skips the cache for three hours so changes show at once. It shows the time left.
- Caching level decides which addresses count as the same cached file: Standard (a separate copy for every query string), Ignore query string (one copy whatever the query string) or No query string (only addresses without one are cached).
- Browser cache TTL is how long a visitor’s browser keeps files before asking again, from 30 seconds to 1 year. Respect existing headers follows your server’s own cache headers. Some short values need a paid plan, and Cloudflare says so if yours cannot use them.
The Purge cache card below it purges Cloudflare’s cached copies.
- Purge these URLs: paste one full URL per line (up to 30) and click the button.
- Purge everything: removes every cached file at once, so the next visits all reach your server. You must type the domain’s name to confirm.
Security tab
Four cards manage who can reach the zone.
Protection
Security level sets how suspicious a visitor has to look before Cloudflare checks them: Off, Essentially off, Low, Medium, High or I’m Under Attack. Under Attack shows every visitor a short check, with a reminder to turn it down afterwards. The header’s I’m Under Attack switch changes the same setting.
AI bots
The same choices as Manage AI bot access on Cloudflare’s dashboard. It needs Zone > Bot Management > Edit on the token; without it the card says so.
- Block AI bots: Off, On ad pages (only hostnames that show ads) or Everywhere. The header’s Block AI bots switch changes the same setting.
- AI Labyrinth sends AI crawlers that ignore your rules into a maze of decoy pages, which wastes their time instead of yours.
- Bot Preference Sync puts your AI bot choices at the top of the site’s robots.txt, ahead of anything already in it. Learn more opens Cloudflare’s page about it.
- Bot Fight Mode challenges traffic that looks like a known bot. Paid plans have Super Bot Fight Mode instead, which you change on Cloudflare, and the card says so.
WAF custom rules
Lists the zone’s custom rules in the order Cloudflare runs them, top to bottom (an allow rule skips the ones below it). Each row shows its description, its action (Block, Managed challenge, Interactive challenge, JavaScript challenge, Allow, Log) and its expression. A switch turns a rule on or off without losing it, and the trash deletes it after a confirmation.
Click Add rule to open the builder. Pick one of three kinds:
- Block countries: visitors from these countries get an error page. Enter two-letter codes separated by commas, such as
CN, RU(T1 stands for Tor). - Challenge a path: visitors to a page, such as a login, prove they are human first. Enter the Path (for example
/wp-login.php) and choose Match as exactly this path or this path and everything under it. - Allow IP addresses: requests from these addresses skip the other custom rules. Enter addresses and ranges, one per line or separated by commas. This rule goes first.
The dialog shows the Description (editable) and the exact expression and action Cloudflare will run, so nothing is added that you have not seen. Click Add rule.
IP access rules
Block, challenge or allow an address, a range, a country or a network (ASN) for the whole zone. Type the value (for example 203.0.113.0/24, DE or AS13335). The form says how it reads it (IP address, IPv6 address, IP range, Country or Network). Choose the Action (Block, Interactive challenge, JavaScript challenge, Managed challenge or Allow), add Notes if you like, and click Add access rule. Existing rules are listed with a trash button.
Servers tab
The Servers tab holds the DNS tokens your servers keep for this zone.
DNS tokens on your servers (DNS-01)
A server that holds a DNS token for the zone can get wildcard certificates and certificates for names behind the Cloudflare proxy, using Let’s Encrypt’s DNS-01 check. Each token edits this zone’s DNS and nothing else. Only servers with the server core installed are listed. If none are, the card tells you to install the core in Deploy first.
For each server you see whether it Holds a DNS token (with when it was last used) or has none for the zone, plus any last error. The buttons are:
- Make a DNS token (or Make a new token to replace one). Runova asks Cloudflare, with your account token, to create a token limited to this zone’s DNS and sends it to the server. This needs the User > API Tokens > Edit permission on your main token.
- Paste a token opens a field where you paste a token you made yourself on Cloudflare, with only Zone > DNS > Edit on this zone. Click Check and send. Use this if your main token cannot create tokens.
- Remove asks first. If Runova made the token, it is also deleted at Cloudflare. A token you pasted stays on Cloudflare, so delete it there if nothing else uses it. Wildcard certificates on that server stop renewing until it has a token again.
When Cloudflare refuses a step for want of a permission, a yellow box names the permission to add to the token and offers Open Cloudflare’s token page.
Once a server has the token, the Issue a certificate dialog on a site’s SSL tab can use Validate over DNS (Cloudflare DNS-01). See Websites and certificates.
Turnstile tab
Turnstile is Cloudflare’s free captcha. It stops bots on your forms, and most visitors never see a puzzle. A form needs a widget: the site key goes in your page, and the secret stays on your server, where it checks each visitor’s token with Cloudflare.
Widgets belong to the Cloudflare account, not to one domain, and a widget can cover up to 10 domains. The tab shows the widgets that cover the open domain (or one of its subdomains). Click All in account to see every widget in the account, and This domain to go back. With seven widgets or more, a search box finds one by name, domain or site key.
This needs Account > Turnstile > Edit on the token. Without it, the tab names the permission and offers Open Cloudflare’s token page. Add the permission, then click I added it, try again.
Add a widget
- Click Add widget (or Add a widget for example.com when there is none yet). The name and the domain start as the open domain.
- Change the Name if you like, for example “Contact form”.
- Pick how it checks people: Managed (recommended, most visitors only see a short check, and a checkbox shows when a visit looks off), Non-interactive (the widget shows but never asks anyone to click) or Invisible (nothing shows at all).
- Add or remove Domains. Paste a list or a URL and it is cleaned up to bare domains. The counter shows how many of the 10 are used.
- Advanced holds options most sites leave alone: Pre-clearance (a solved widget also lets the visitor past Cloudflare challenges of that level on your site), and, on Enterprise plans only, Region, Hide Cloudflare branding and Ephemeral IDs. If your plan can’t use one, Cloudflare’s answer shows in the dialog.
- Click Create widget.
The dialog then shows Your widget is ready with the site key, the secret (click Show secret to read it) and the code to paste: HTML, React, a PHP check and a Node.js check. The server code reads the secret from TURNSTILE_SECRET, so set that on your server rather than putting the secret in your code.
Testing on localhost? Use Cloudflare’s test keys opens Cloudflare’s dummy site keys and secrets. They always pass, always block or always ask the visitor to click, so a form can be tried on your own machine or in automated tests. Pair a test site key with a test secret.
Manage a widget
Each widget shows its mode, its domains, its site key with a copy button, and Get secret, which reads the secret from Cloudflare only when you ask. Runova never keeps it.
- Add to your site opens the site key, the secret and the code again.
- The pencil edits the name, the mode, the domains and the advanced options. The site key stays the same, so your pages keep working.
- Rotate secret makes a new secret. By default the old one keeps working for 2 hours, so you have time to update your servers. Pick Stop the old secret now if the secret leaked. The new secret is shown right away.
- The trash deletes the widget after a confirmation. Forms that use it stop passing checks right away.
Cloudflare on each server
Besides this page, Cloudflare shows up in a server’s own sections:
- Websites, SSL tab: the Cloudflare Origin CA button has Cloudflare sign a certificate for a key the server makes. Only Cloudflare trusts it, so keep the site’s records proxied and set SSL/TLS to Full (strict). It needs the SSL and Certificates permission. See Websites and certificates.
- Websites, Domains tab: arriving from Point domain to a server starts a new site with the pointed names.
- Firewall section, Cloudflare-only origin card: see below.
Cloudflare-only origin
In Deploy, pick the server, click Firewall, and find the Cloudflare-only origin card. It stops visitors from going around Cloudflare to the server’s own address. It shows one of four states:
- Off: every address reaches ports 80 and 443
- Waiting for you to keep the firewall change
- On: only Cloudflare reaches ports 80 and 443
- On, but the firewall no longer matches (the card lists rules not allowed yet, rules still open to everyone and rules that are no longer Cloudflare’s)
It also shows how many IPv4 and IPv6 ranges the core has from Cloudflare and when it fetched them (the core refreshes the list daily), and whether Authenticated Origin Pulls are on.
Admins can click Lock to Cloudflare (or Bring up to date when it is already enabled), and Turn off to open the ports to everyone again.
- Click Lock to Cloudflare. A dialog explains that ports 80 and 443 will only answer Cloudflare’s published addresses and that nginx will log each visitor’s own address.
- Optionally tick Also require Cloudflare’s client certificate on HTTPS (Authenticated Origin Pulls). It is turned on for the zones of this server’s sites first.
- Check Site domains on this server. Any domain that is not proxied (DNS only, no record, or not in your Cloudflare account) is flagged, because it would stop answering once the lock is on. Turn the proxy on for those names first.
- Read the exact firewall commands. If the safety guard blocks the change, it says why and the button stays disabled.
- Click Lock to Cloudflare to apply. A firewall countdown starts, and you must keep the change from the banner over a new SSH connection or it is undone. See Firewall and security.
If the firewall changed but nginx did not take its part, a warning points you to the Websites section.
Tips
- Start with the token card. If anything seems off, Check again tells you which permission is missing.
- Preview before you apply when pointing a domain, and keep the proxy on if you plan to use the origin lock.
- Use Development mode while you are changing a site, then switch it off.
- Prefer Full (strict) with a real certificate on the server.
- Use the Help page (
F1) and its Ask the guide chat for more. See Help center.