
Deploy
Server backups
Back up a whole Deploy server on a schedule or on demand, encrypted with a secret key only you know, to several places at once, and restore it onto the same server or a new one.
Read about this part of Runova on the Ship page.
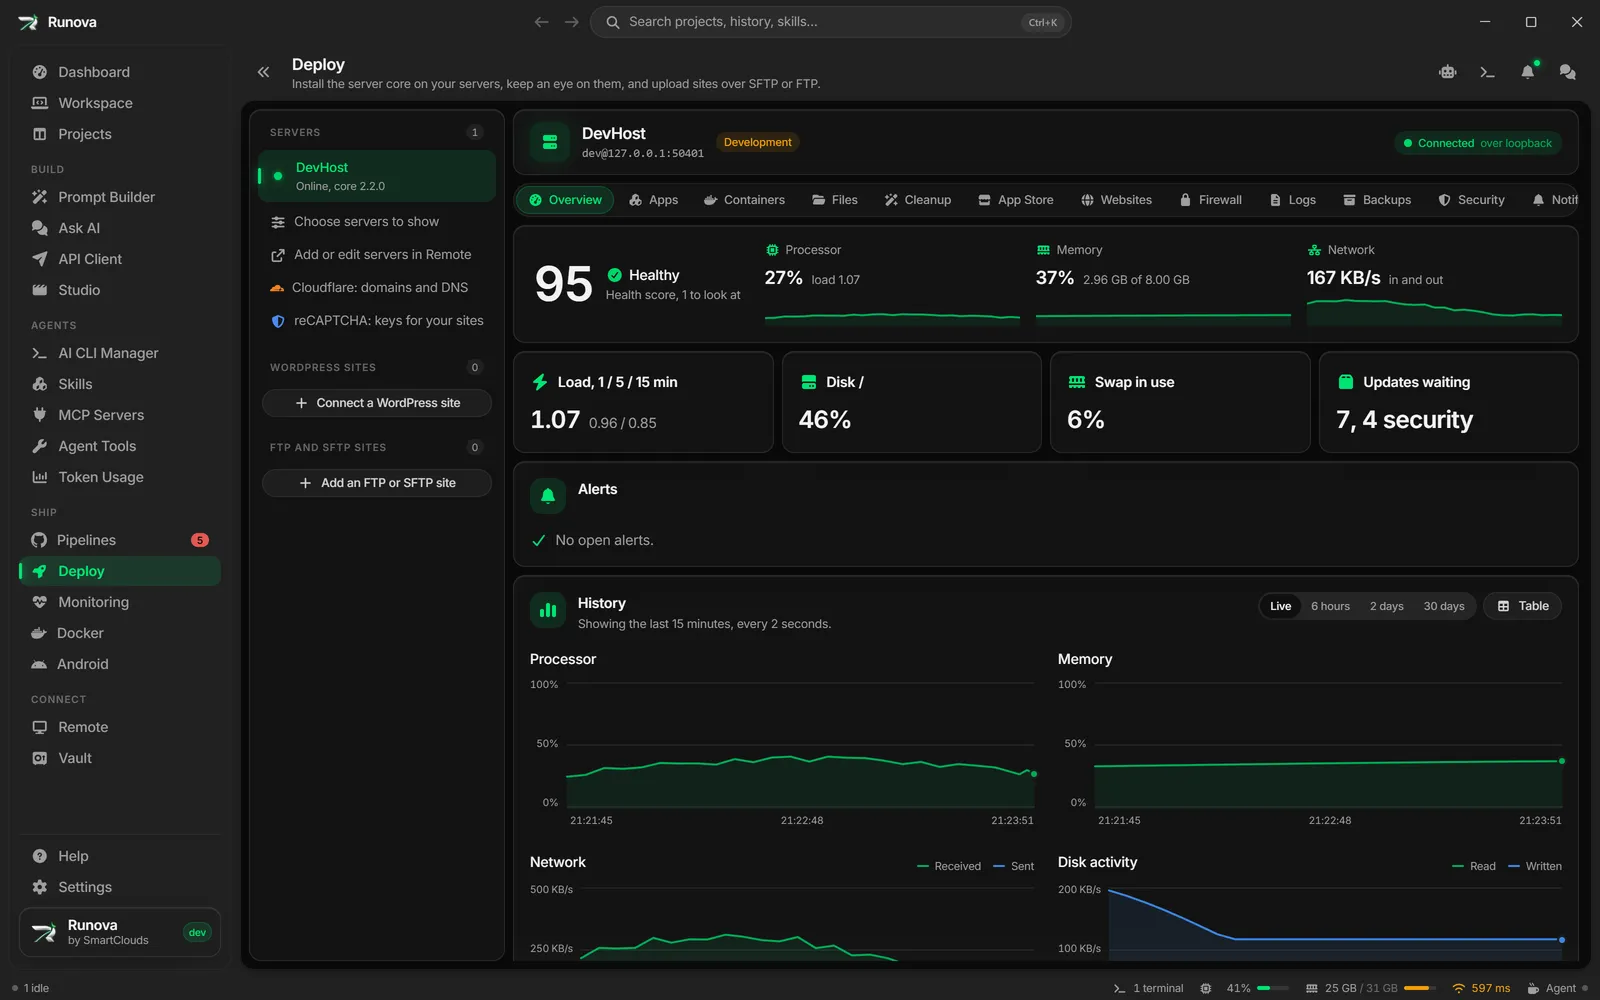
The Backups section of a server’s page in Deploy backs up the whole server: the server core’s data and keys, its settings, the apps and their files, every Docker volume, images that cannot be pulled again, standalone containers and the firewall rules. Backups are made on the server by the Runova server core, so plans keep running when Runova is closed.
Only an Owner of the server can use this section. Anyone else sees why it is empty.
Where to find it
Open Deploy, pick a server and click Backups in the row of sections. The section has six tabs: Overview, Backups, Plans, Destinations, Secret key and Restore.
Changes that matter (setting the secret key, adding or removing a destination, backing up now, deleting or fetching a backup, signing in to Telegram, bringing a restored server up) ask for your password again if you have not given it in the last ten minutes.
The secret key
Every backup is encrypted on the server before it goes anywhere, with a secret key you choose in the Secret key tab. It needs at least 12 characters and is typed twice. No backup can be made until it is set, and the Overview says so.
Warning: If you lose the secret key, no backup made with it can be restored, by you or anyone. It is never stored on the server and Runova does not keep it. Write it down somewhere safe, away from the server.
To change it, type the current key and the new one. Backups made before the change still open with the key they were made under. The key alone is enough to restore a backup onto a bare server.
Destinations
A destination is a place backups go. Add them in the Destinations tab with Add a destination:
- Folder on the server: a path on the server itself. Quick, but it does not help if the server is lost.
- FTP or FTPS: host, port, user, password and folder. Leave Use FTPS (TLS) on where the server supports it. When the server shows a certificate that cannot be checked, Test shows its fingerprint and you can trust it.
- SFTP: host, port, user, a password or a private key (with its passphrase), and the folder. Click Test first: the server shows its host key, and nothing is saved until you click Trust this key. Check the key with whoever runs that server.
- Google Drive: uses your own OAuth client. In the Google Cloud console turn on the Google Drive API, create an OAuth client ID of type Desktop app, and paste its client ID and client secret. Click Sign in with Google, finish in the browser, and the destination is saved. The server only sees files it made itself.
- OneDrive: uses your own app registration in the Microsoft Entra admin center (personal and work accounts, platform Mobile and desktop applications, redirect
http://127.0.0.1). Paste its client ID and click Sign in with Microsoft. Backups go to the app’s own folder. - Telegram: your own account. Get an api_id and api_hash at my.telegram.org, enter your phone number and click Send the code. Type the code Telegram sends, then your cloud password if the account has one. Backups go to your Saved Messages, in parts of 2000 MB (4000 MB with Telegram Premium).
Passwords, keys and tokens go to the server core, which seals them and never shows them again. Leave a password empty when editing to keep the saved one. Part size in MB splits big backups into parts for destinations that limit file size.
Each row has Test (writes, reads back and deletes a small file), edit and remove. Removing a destination takes it out of every plan; what it holds stays there.
Back up now
On the Overview, click Back up now, tick the destinations and, if you want a copy here, Download to this computer (the save dialog comes first). Click Start the backup. The dialog follows the run and shows each destination’s outcome. You can close it; the server carries on, and the history shows how it went.
Plans
A plan backs up on a schedule. In Plans, click New plan and set:
- Schedule: every few hours, daily at a time, weekly on a day at a time, or a custom cron line.
- Time zone: the zone the schedule is read in. It starts at this computer’s zone. A server without the tzdata package knows only UTC; install tzdata on it or pick UTC.
- Destinations: where each backup goes.
- Keep the last: how many of this plan’s backups each destination keeps. Optionally, also delete ones older than a number of days.
As you type, the preview shows the next runs and a line like “Keeps 7 backups on each destination, about 14 GB each, the oldest goes on” a date. The size is a guess from the last backup. A plan only ever deletes backups it made itself, and only after a new one arrived.
Run now runs a plan off its schedule.
Note: Volumes are copied while the apps keep running. A database that is busy at that moment may restore in an inconsistent state.
What a destination holds
The Backups tab lists what the chosen destination holds: when each backup was made, which server made it, the plan, the size and the number of parts. Each row can be downloaded to this computer, restored, or deleted after a confirmation.
Restore
Open Restore (or click restore on a backup in the Backups tab):
- Pick the backup: one on a destination (of this server or another Deploy server), or a file on this computer.
- Pick the server to restore onto. It needs the server core installed; if it has none, the wizard links to the installer.
- Enter the secret key, an Owner from the backup and their password, and the sudo password if the login needs one.
- Click Restore onto the server and type its name to confirm.
The backup is checked with the secret key before anything changes. Then the server core’s state is swapped for the backup, the core restarts, and this computer signs in as that Owner. If the core does not come back, the server goes back to what it had.
Next the wizard shows what the backup brings: volumes, images, containers, apps, firewall rules, and every setting that named the old server’s address, marked Automatic or Change by hand. On a new server, Move what named the old address is ticked. Click Bring the server up: volumes and images come back and what was running starts again. When the address moves, the server core moves its own settings (sites, Cloudflare DNS, the direct TLS certificate, app files) and Runova moves this computer’s records: saved servers, health checks, FTP and SFTP sites and WordPress sites that named the old address. A moved record with a trusted host key asks to trust the new server on its next connection.
DNS that is not on Cloudflare is listed at the end to change by hand. The backup’s firewall rules are not applied by the restore: click Review the firewall rules to stage them in the Firewall section and apply them the usual way.