
Settings
Backup and restore
Export your projects, settings and saved data to a file, optionally with project environments and the Vault, and restore it on this or another computer.
Read about this part of Runova on the Everything else page.
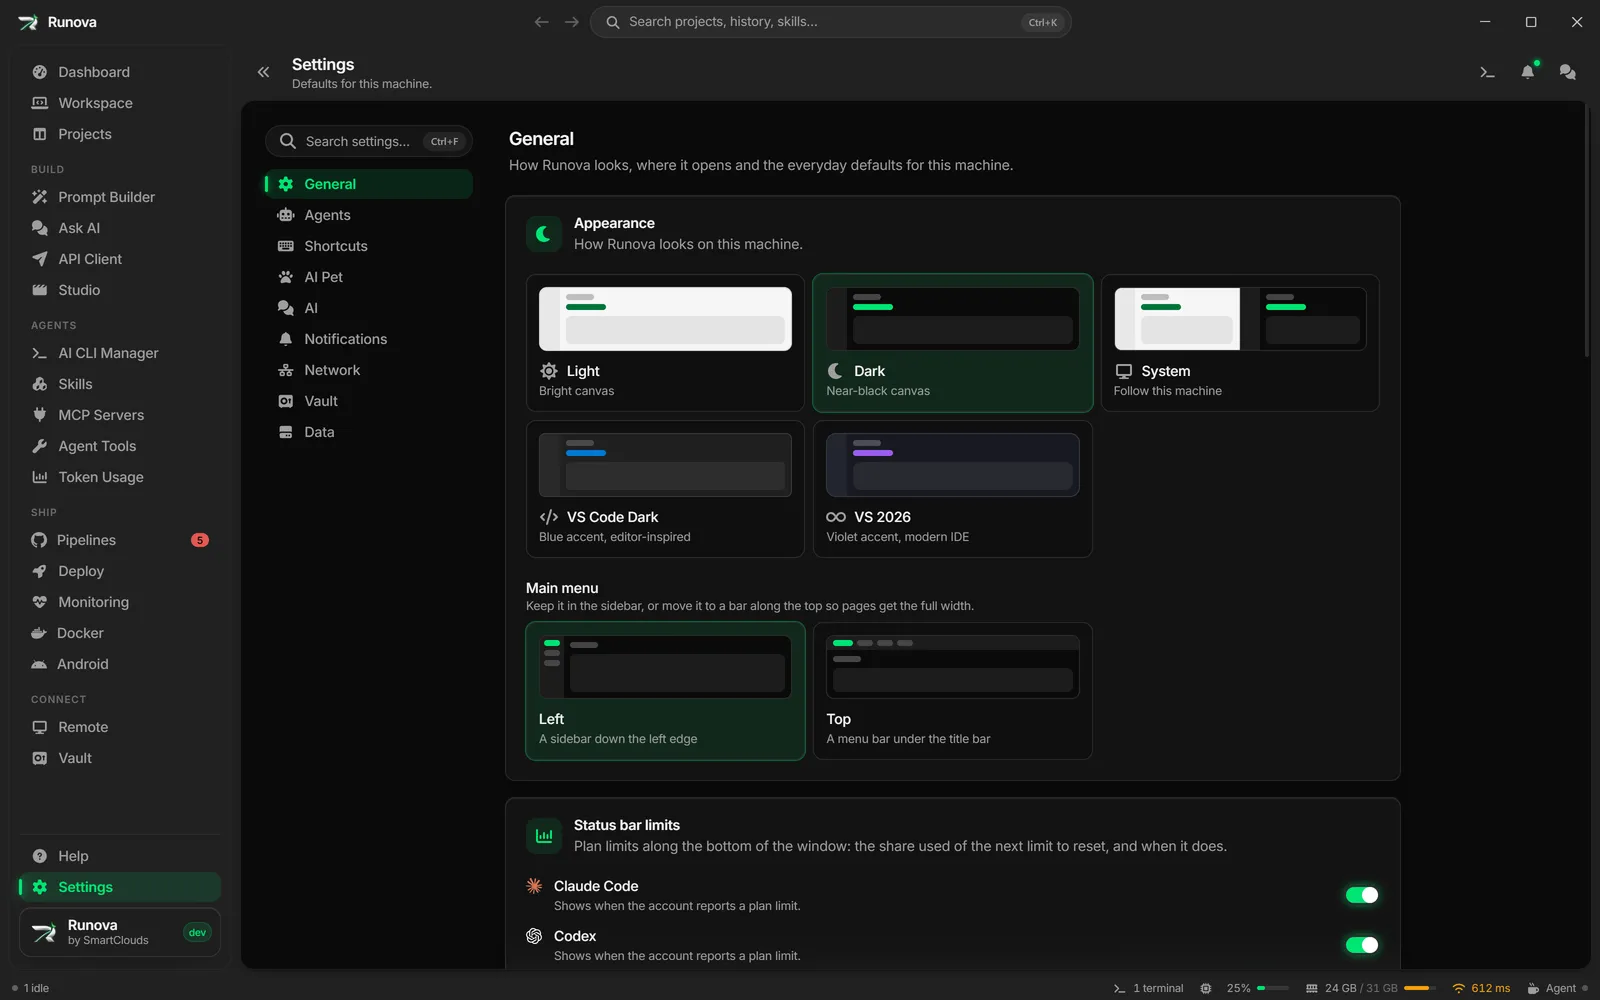
Runova can save a copy of your projects, settings and other data to one file, and load that file back later. Use it before a reinstall, to move to a new computer, or just as a safety net. The file is a plain JSON file (or a zip that contains it), so keep it somewhere private: it includes your saved API keys and your Telegram bot token.
Where to find it
Click Settings in the main menu, open the Data tab and find the Backup & restore card. It has two panels side by side: Export and Restore. The tab is at /settings?tab=data.
What is in a backup
A backup includes:
- Projects, including their notification hooks and run commands
- App settings, including saved AI provider keys and the Telegram bot token
- Prompt templates, prompt history, drafts and scheduled prompts
- Skill repositories, MCP repositories, favorite skills and skill audit results
- Blueprints, Blueprint presets, Blueprint revisions and Blueprint attachments
- The activity log and your notification inbox
- Project environments (env files and credentials), only when you choose to include them and set a password
- The Vault, if you have one and leave Include the Vault on
A backup does not include saved SSH and Remote Desktop servers, Deploy servers, API Client collections, your custom keyboard shortcuts, installed tools, downloaded voice models or the image files of pets you added yourself. Back those up separately if you rely on them.
The servers you manage in Deploy are backed up on the servers themselves, from their Backups section, on a schedule and to places like SFTP, Google Drive or Telegram. See Server backups.
Blueprint attachments travel inside the backup as files. A single attachment over 10 MB is left out (its name comes back, the file does not), and the total is capped at 100 MB.
Export a backup
- Open Settings, Data, Backup & restore.
- In the Export panel choose what to include:
- Compress as .zip (off by default) saves a zip file instead of a plain JSON file. The zip is smaller but it is not password protected.
- Include project environments (off by default) adds the env files and credentials of your project environments. Turning it on shows two password boxes. See the next section.
- Include the Vault (stays encrypted with its master password) (on by default) adds your Vault file. It stays locked with its master password, so the backup needs no extra password for it.
- Click Export backup. A save dialog opens with a name like
runova-backup-YYYY-MM-DD.json(or.zip), using today’s date. Choose where to save it. - A message says “Backup saved to” followed by the path.
If the file cannot be written (a full disk or a read-only folder, for example) you see “Could not write that file” with the reason, and your data is untouched.
Include project environments with a password
Project environments are stored encrypted for this computer, so another computer could not read them. For a backup, Runova decrypts them and seals them again with a password you choose.
- Turn on Include project environments.
- Type a Backup password and repeat it in Confirm password. It needs at least 8 characters, and the two boxes must match. The card tells you what is wrong (“Use at least 8 characters.” or “The passwords do not match.”) and Export backup stays disabled until it is fixed.
- Click Export backup.
You need this password to restore the environments, and it cannot be recovered. If you lose it you can still restore everything else from the file, just without the environments.
Note: If you protect saved servers and project environments with a passkey and that passkey is locked, the export stops with “Could not include project environments” and a message that the vault is locked. Unlock it first, then export again.
Restore from a backup
Restoring replaces the data on this machine with the contents of the file. It cannot be undone, so export a fresh backup first if you might want the current state back.
- In the Restore panel click Restore from backup….
- Read the warning “Restore from backup?” and click Choose backup file…. Click Cancel to stop here.
- Pick the
.jsonor.zipfile. - If the backup contains a Vault, Runova asks Restore the Vault too? Choose Restore the Vault to replace this computer’s Vault with the one in the backup, or Keep my current Vault to leave it alone.
- If the backup contains project environments, the Backup password dialog opens. Type the password you chose when you exported and click Restore. A wrong password shows “That password does not open this backup.” and you can try again. Restore without them restores everything else and keeps the environments you have now.
- Runova restores the data. Any warnings appear as messages (see below).
- A dialog says Backup restored and that Runova needs to restart to load the restored data. Click Restart now, or Later if you want to finish something first.
The whole file is checked before anything is written, so a damaged file cannot leave you with half your data replaced. If writing fails partway, Runova puts back what was there and says “Your existing data was left in place.” Sections that a backup does not contain (for example one made by an older version) are left as they are.
If the file is rejected
- “Could not read that file.” means it is not valid JSON or zip.
- “That file is not a valid Runova backup.” means it is a different kind of file.
- “That backup was written in an unsupported format” means it comes from a version of Runova with an incompatible backup format.
Warnings after a restore
Runova shows a warning for anything it skipped or that deserves a second look:
- “This backup set custom CLI arguments. Review them in Settings before running an agent.” Those flags are added to every background CLI run, so look at them in Settings, Agents.
- “This backup set project run commands. Check them on each project before using Run.”
- “Skipped N unreadable …” for rows it could not read, such as projects, templates or prompt history entries.
- A note when blueprint attachments were too large to include, or when the environments or the Vault in the file could not be read.
What happens to the Vault
When you choose Restore the Vault, Runova locks the Vault, sets your current Vault file aside in Runova’s data folder as vault.json.pre-restore- followed by the time, and writes the one from the backup. If that fails your current Vault is put back. After the restart, unlock it with the master password the Vault had when the backup was made. See Vault.
Move to a new computer
- On the old computer export a backup with Include project environments (set a password) and Include the Vault.
- Install Runova on the new one and copy the file over.
- Restore it as described above. The project folders themselves are not in the backup, so make sure each project’s folder exists at the same path, or fix the folder on the project afterwards.
- Reinstall your AI CLIs from AI CLI Manager.
Tips
- Export a backup before a big update or before restoring another one.
- Keep backups in an encrypted folder or a password manager attachment. The JSON itself is readable, apart from environments and the Vault.
- Use the Compress as .zip switch for a smaller file when you have many prompt history entries or attachments.