
Workspace
Worktrees
Give each task its own git branch and folder, with separate terminals, agents and changes, and merge it back when it is done.
Read about this part of Runova on the Workspace and agent status page.
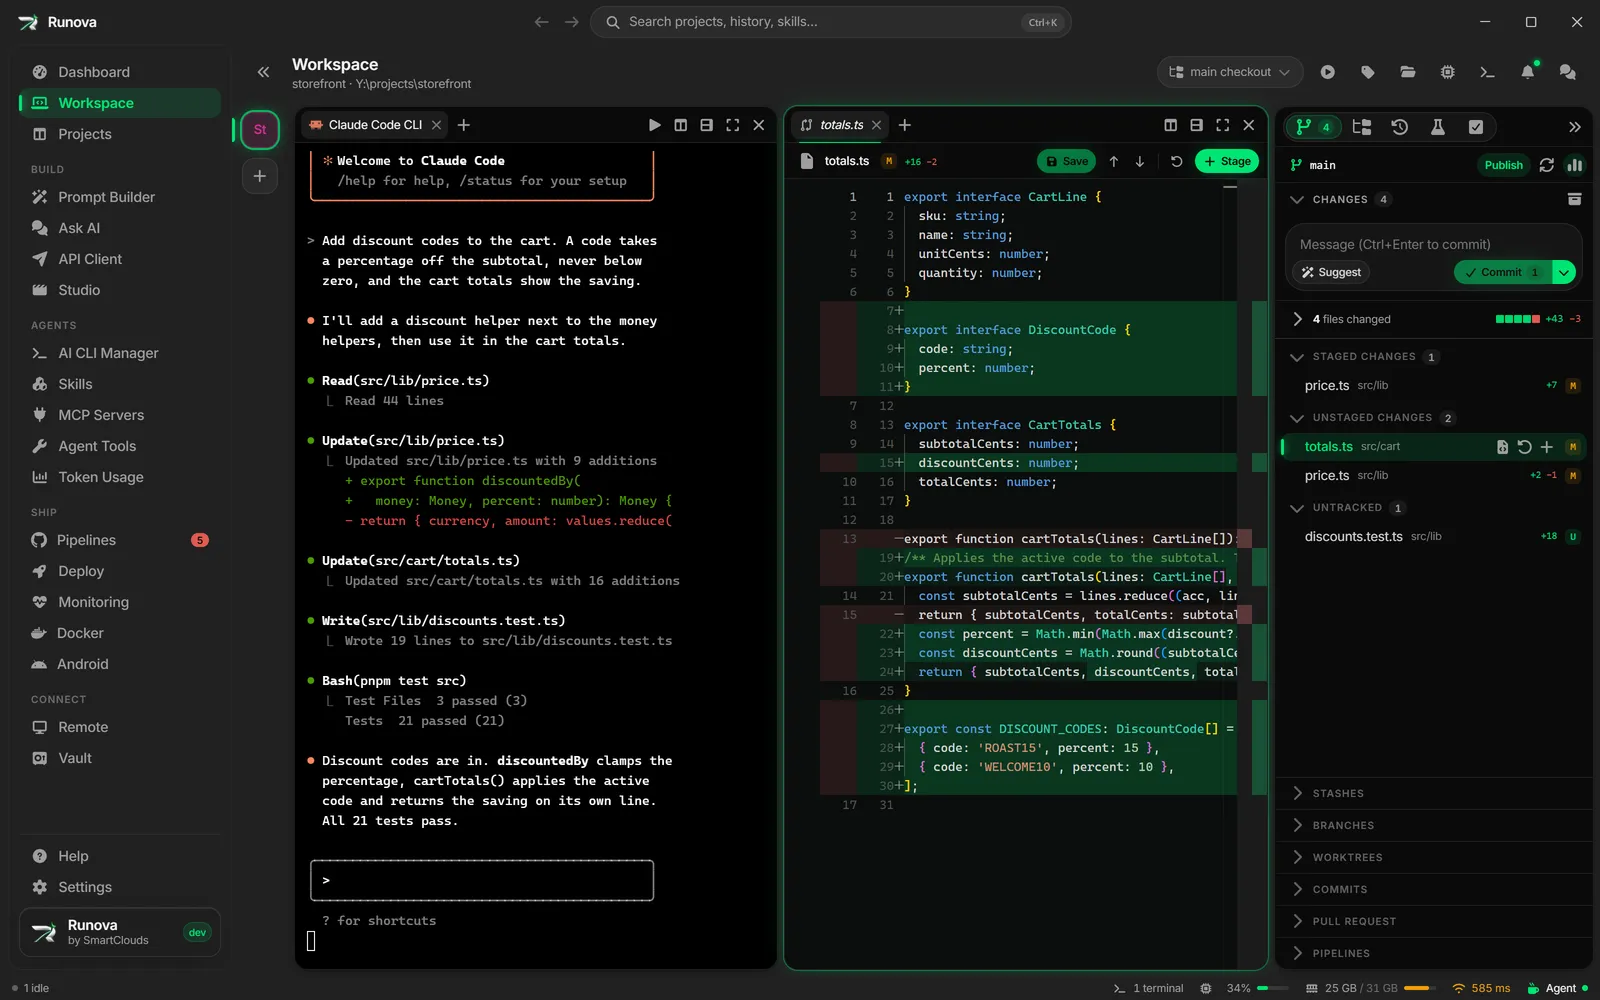
A git worktree is a second folder of the same repository, checked out on its own branch. In Runova, every worktree gets a full workspace of its own: its own panes, terminals, agents and changes. That lets you run several agents on different tasks at the same time without them editing each other’s files, and your main checkout stays exactly as you left it.
This page covers creating a worktree, moving between them, finishing one by merging it back or opening a pull request, removing one, and the settings that shape how new ones are made.
Where to find it
- Right-click a project tile in the Workspace rail and choose New worktree….
- Click the branch switcher in the Workspace header and choose New worktree….
- Press
Ctrl+Shift+N(Cmd+Shift+Non macOS) in the Workspace. - Open the Worktrees section of Source control in the right panel and click New worktree (the +).
- Open the command palette, type the project name, and pick New worktree of {project}.
- In the Branches section, hover a branch and click Open in a new worktree.
Create a worktree
The New worktree dialog keeps everything on one screen with sensible defaults. For the common case, type a branch name and press Enter.
- Task (optional). Describe what should happen in the worktree. It can name the branch for you, and it becomes the agent’s first prompt.
- Choose New branch or Existing branch.
- New branch: type a Branch name, such as
feat/my-change. Click the sparkle button (Suggest a branch name from the task) to have your AI CLI propose one from the task, which needs some task text first. The branch starts from the base shown next to it (the repository’s default branch unless you pick another from Based on). - Existing branch: pick a branch from the list. Branches already open in another worktree, and the branch you have checked out, are not offered.
- New branch: type a Branch name, such as
- Location shows the folder the worktree will be created in. Click Change… to choose another parent folder, or Reset to go back to the default.
- Setup:
- Copy local files copies files that git does not track, such as
.env, into the new folder. The line under it lists the files that matched. It is unavailable when nothing matches. - Setup command is something to run in the new worktree, such as
pnpm install. It runs in its own terminal tab. If you change the command, a checkbox, Use this for every new worktree of {project}, saves it for the project.
- Copy local files copies files that git does not track, such as
- Start an agent: pick one of your installed agents, or No agent. Your default agent is selected to begin with. If you wrote a task, it is typed into the agent as its first prompt, ready for you to send.
- Click Create worktree, or press
Ctrl+Enter(Cmd+Enter).
The dialog then lists its steps as it goes: Creating the worktree, Copying {n} local files, Opening its workspace, Running setup and Starting {agent}. When it finishes, it closes and you are in the new worktree’s workspace. If something fails, a note says whether the worktree was created, and Back returns you to the form with everything you typed.
Some things the dialog tells you along the way:
- A branch name git does not allow shows a red explanation.
- If a branch with that name already exists, you see A branch named {name} already exists. with Use the existing branch.
- If the project is not a git repository, it says it cannot have worktrees yet. Set up git on the project’s Git tab first (see Projects).
Where worktrees are created
By default a worktree goes next to your repository, in a folder named after it, for example …/my-app.worktrees/feat-login. In Settings you can instead keep all of them under one folder you choose, for example {folder}/my-app/feat-login. The dialog’s Change… button can override this for one worktree. See the settings section below.
Moving between worktrees
Each worktree is a separate workspace, so switching does not stop anything. Terminals and agents keep running in the one you leave.
In the rail
Worktrees hang under their project’s tile in the rail, joined by a thin line. Each tile shows the branch’s initials and is colored like its project.
- Click a tile to open that worktree’s workspace. The one on screen has a ring.
- A small spinner, amber dot or green dot on a tile shows an agent working, waiting, or finished, as on project tiles. A quiet amber dot in the corner means the worktree has uncommitted changes. A warning triangle means its folder is missing.
- Hover a tile for the branch, what it was created from, its folder, its changes and commits, and how many terminals are open.
- Right-click a tile for its actions, listed below.
- The dashed + under the tiles starts New {project} worktree.
- To tidy the rail, right-click the project tile and choose Hide worktrees, or hover the tile and click the small arrow. A project with hidden worktrees shows a small count (for example 2) on its tile. Click it to show them again. A hidden worktree that is on screen stays visible.
In the header
The switcher at the left of the Workspace header says main checkout or the branch of the worktree you are in. Click it to open a list titled Workspaces of {project}: the main checkout, then each worktree with its state (Clean, a count of changes, commits ahead or behind, or Folder missing). Pick one to switch. The list also has New worktree… and Manage worktrees, which opens the Worktrees section.
Other ways
- Type a branch name in the command palette to find its worktree.
- Click a branch in Branches that is checked out in a worktree. Runova opens that workspace instead, because git keeps a branch checked out in one place at a time. Such branches are tagged in worktree.
- Use Open {branch} on a row in the Worktrees section.
How a worktree workspace differs
The line under the page title reads {project} · worktree {branch} · {folder}. The empty pane shows a Worktree {branch} badge, so you always know where an agent will work. Run starts in the worktree’s folder. Tag a version and Project details still belong to the project’s main checkout.
The Worktrees section
In the right panel, the Worktrees section of Source control lists every worktree of the project, with a count in its header.
Each row shows the branch, a This workspace tag on the current one, and tags for Folder missing, Locked and Added outside Runova (for worktrees you made with plain git). Under the name are badges for changes (for example 3 changes), commits ahead (↑2) and behind (↓1) its base, and its path. Click a row to open it. Click the ⋮ button (More actions), or right-click a rail tile, for:
| Action | What it does |
|---|---|
| Open workspace | Switches to it. |
| New agent here | Opens it and starts your default agent. |
| New terminal here | Opens it and starts a shell. |
| Merge into {base} | Merges the branch into the branch it started from. See below. |
| Create pull request | Opens its workspace on the Pull request section. |
| Reveal in folder | Shows the folder in File Explorer or Finder. |
| Copy path | Copies the worktree’s folder path. |
| Remove worktree… | Removes it. See below. |
Merge and pull request need a branch (not a detached checkout). Several actions are off for a worktree whose folder is missing.
When you are inside a worktree, the first row is Main checkout, to get back to the original folder. With no worktrees yet, the section explains the idea and offers New worktree. If some worktree folders were deleted outside Runova, a banner says so and Clean up tells git to forget them.
Finishing a worktree
At the top of a worktree’s Source control tab there is a card with the branch and its base ({branch} → {base}), a line on where it stands (for example 2 commits ahead of main, with any uncommitted changes), and three buttons.
Merge into the base branch
Click Merge into {base}.
- Runova checks both sides first. If something is in the way, it says how to fix it: commit or discard the changes in the worktree, commit or stash changes in the main checkout, switch the main checkout to the base branch, or that there is nothing to merge.
- It asks Merge {branch} into {base}? and explains that the merge happens in the main checkout and nothing is pushed.
- After a successful merge you get Merged {branch} into {base} with a Remove worktree button.
If the two branches would conflict, nothing is changed. A message lists the files and offers Merge {base} in here, which merges the base into your worktree branch instead. Any conflicts then show up in the worktree’s Changes list, where you can resolve them by hand or with AI (see Git in the Workspace). Commit once they are resolved, then merge again.
Create a pull request
Create pull request opens the worktree’s workspace on the Pull request section, so you can push the branch and open a pull request for it. See Git in the Workspace.
Remove the worktree
Remove worktree opens a confirmation. When everything is merged and clean, the card suggests removing it as the next step.
Remove a worktree
The dialog is titled Remove the {branch} worktree? and shows the folder. Before anything happens it spells out what would be lost, worst first:
- {n} uncommitted changes will be lost.
- Commits that are not merged into the base, and whether they are pushed or not.
- How many terminals will be stopped, and how many of them have an agent still working.
- If the folder is already gone, that removing only tidies up git.
- When the branch is merged and clean: Nothing is lost: the branch is merged and clean.
A checkbox, Also delete branch {branch}, is on when the branch is merged, or when the setting below says to delete merged branches. It stays off, and unavailable, for a branch with commits that exist nowhere else, and the dialog tells you to delete that branch from Branches once you are sure.
The button reads Remove worktree, or Remove anyway when uncommitted changes would be lost. Runova stops the worktree’s terminals first, because Windows will not delete a folder while a shell sits in it, and closes its workspace. If it fails you see the reason and the button changes to Try again.
If you delete a worktree’s folder yourself, its workspace shows This worktree’s folder is gone with Back to {project} and Remove worktree. If a worktree is removed outside Runova (for example with git worktree remove in a terminal), its workspace closes by itself.
Worktree settings
App-wide
In Settings, on the Agents tab, the Worktrees card holds:
- New worktrees go: Next to the repository or In one folder (pick the folder, and Change folder later).
- Files to copy: patterns, one per line, like
.gitignore. The default is.envand.env.*. Only files git does not track are copied, and nothing inside ignored folders such asnode_modules. - Delete the branch when removing a merged worktree: off by default. A branch with commits that exist nowhere else is always kept.
Changes save by themselves. See Settings.
Per project
On the project’s page, open the Git tab and find the Worktrees card. There you set a Setup command that runs in a terminal tab in every new worktree of that project (leave it empty to run nothing), and turn on Its own files to copy to give the project its own copy patterns instead of the app-wide ones. See Projects.
Tips
- Start a worktree per task, then run an agent in each. Their changes cannot collide.
- Put
.envand.env.*in Files to copy (the default) so every worktree can run right away, and a setup command such aspnpm installon the project. - If you only want to try an idea, remove the worktree afterwards and tick Also delete branch.
- Keep an eye on the rail. An amber dot on a worktree tile means an agent there is waiting on you.